
If you have traveled to Poland, you will know that bread is a very important part of Polish cuisine. There are many different varieties of bread available in shops across all cities and towns. People, despite their busy days, also make time to bake bread at home.
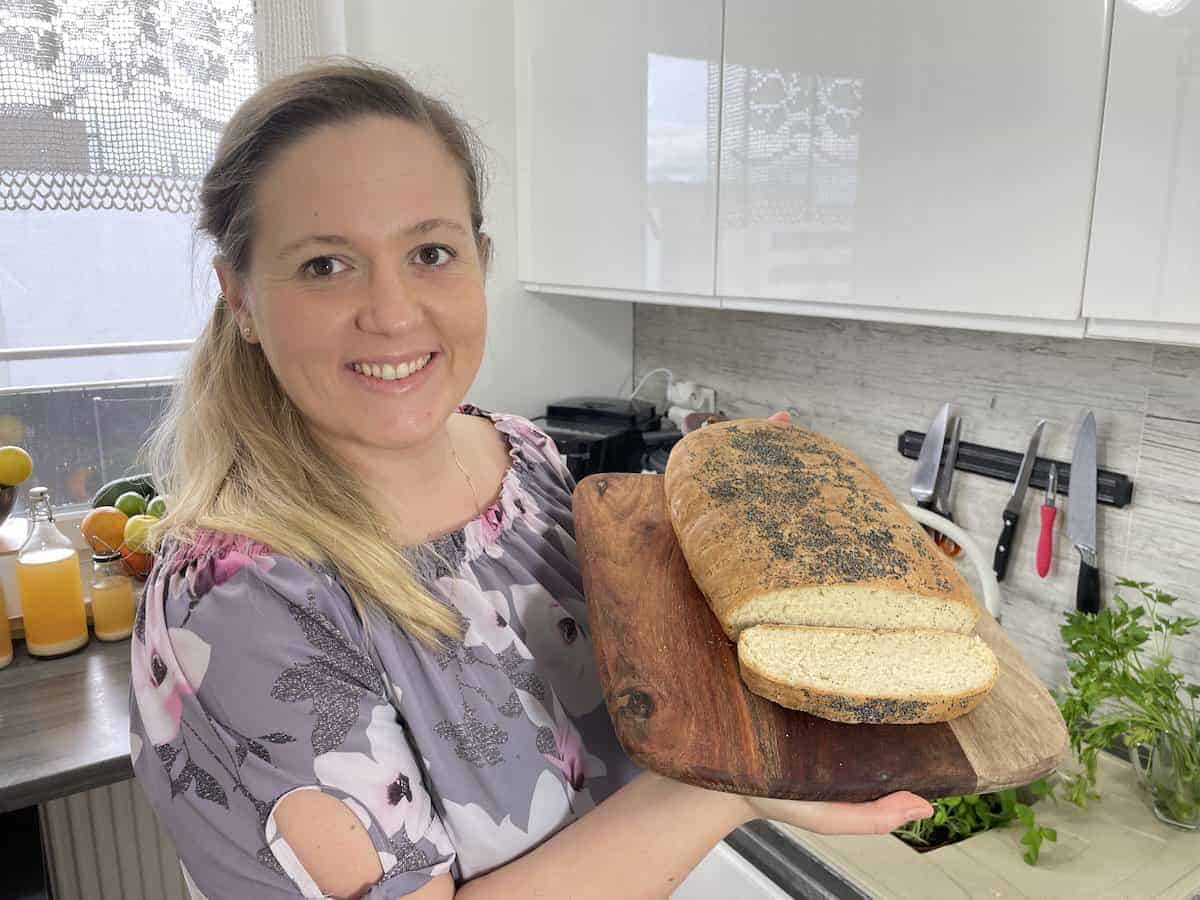
One of the most common types of bread found across the country is chleb pszenny. This is a simple Polish white bread that has a taste and texture that is similar to the commercially available bread you find around the world. The difference however lies in its gorgeous golden crust.
If you haven’t baked bread before, you will find that chleb pszenny is one of the easiest recipes to start with.
Polish Bread And Its History
Polish traditions and its bread go back over the centuries. It is believed that bread is a symbol of abundance and divinity. This belief can be traced back to both the Slavic beliefs and those of Christianity.
Did you know that back then, freshly baked bread was marked with a sign of the cross? This served as a form of blessing over the bread. It is one of the many ways that people showed their respect and love for it.
Bread in Poland was usually handmade and the artisans were well-loved. Things changed a lot back in the 1990s when producing bread commercially became the new norm. Machines made baking bread faster and more efficient but forced a lot of bakers out of the market.
Lately, especially after the recent pandemic, people have turned back to baking bread at home in Poland. There has simultaneously been a rise in interest in artisanal bread.
Simple Polish White Bread Recipe – Chleb Pszenny
Part I – Knead All The Ingredients
Add 5 cups of all-purpose flour or bread flour, ½ cup of warm milk, ¾ cup of warm water, 1 tbsp. of butter, 2 tsps. of salt, 1 tsp of sugar, and 3 tsps. of instant yeast into a large mixing bowl. Knead the dough using your hand or a food processor. Do this for 5 – 10 minutes.
It is sometimes tempting to stop kneading the dough when it is mixed completely but try and knead for a longer time. This is because the process activates the gluten in the dough which gives the chleb pszenny its characteristic texture.

Part II – Cover The Bowl With A Clean Kitchen Cloth
Place the dough in the center of a large bowl and cover it with a large kitchen cloth. The cloth will prevent the dough from drying. Wait for 1 – 2 hours. The rule of thumb is that the dough should double in size.
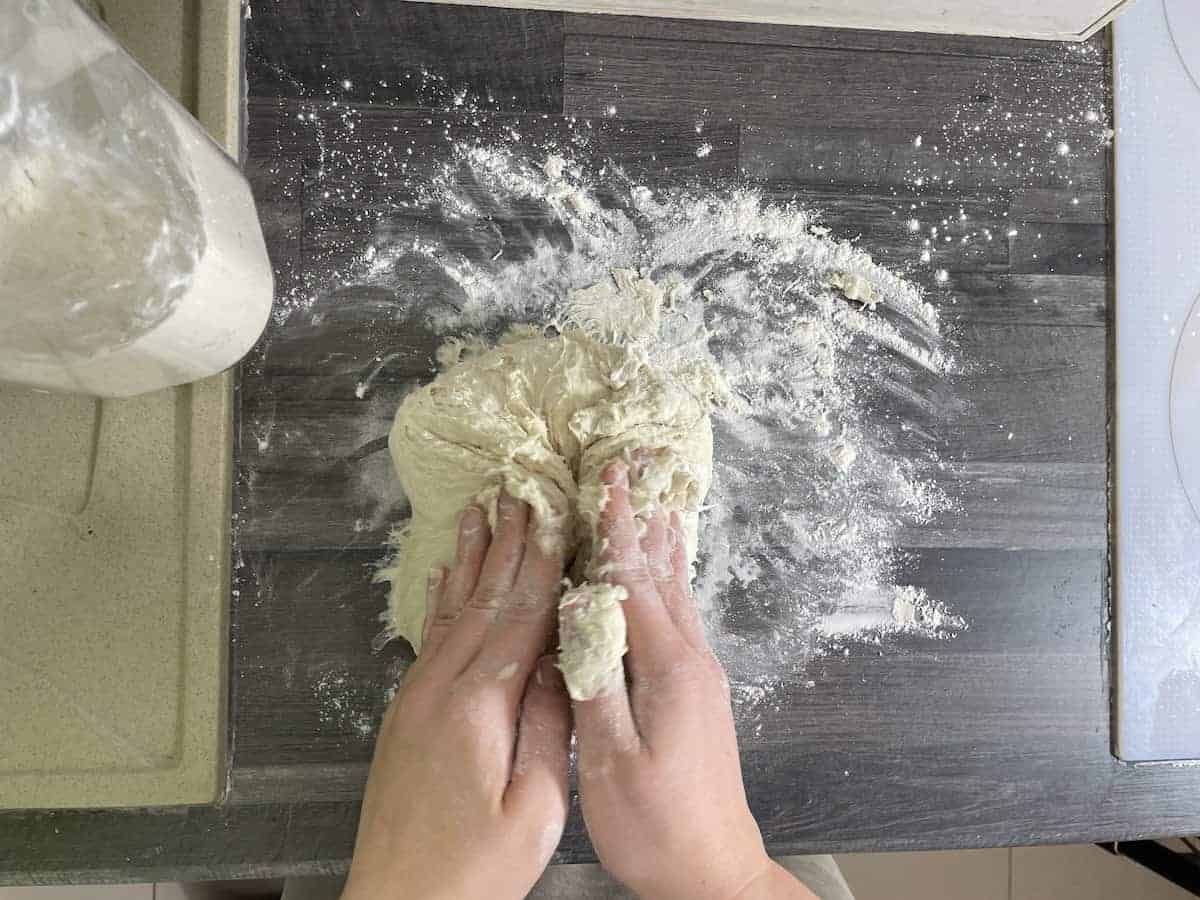
Part III – Form The Bread On A Floured Surface
Form the chleb pszenny on a floured surface. The flour prevents the dough from sticking to the surface and makes it easier to handle and shape. My video will give you an idea of how this is done. I recommend watching it if this is your first time shaping chleb pszenny.
Part IV – Place The Bread On A Baking Tray Lined With Parchment Paper
Make sure to space the chleb pszenny out while placing them on the baking tray. This is because they will grow in size both before and while baking.
Part V – Wait For 30 Minutes
Cover the bread with a clean kitchen towel and wait for another 30 minutes. The bread will grow in size.
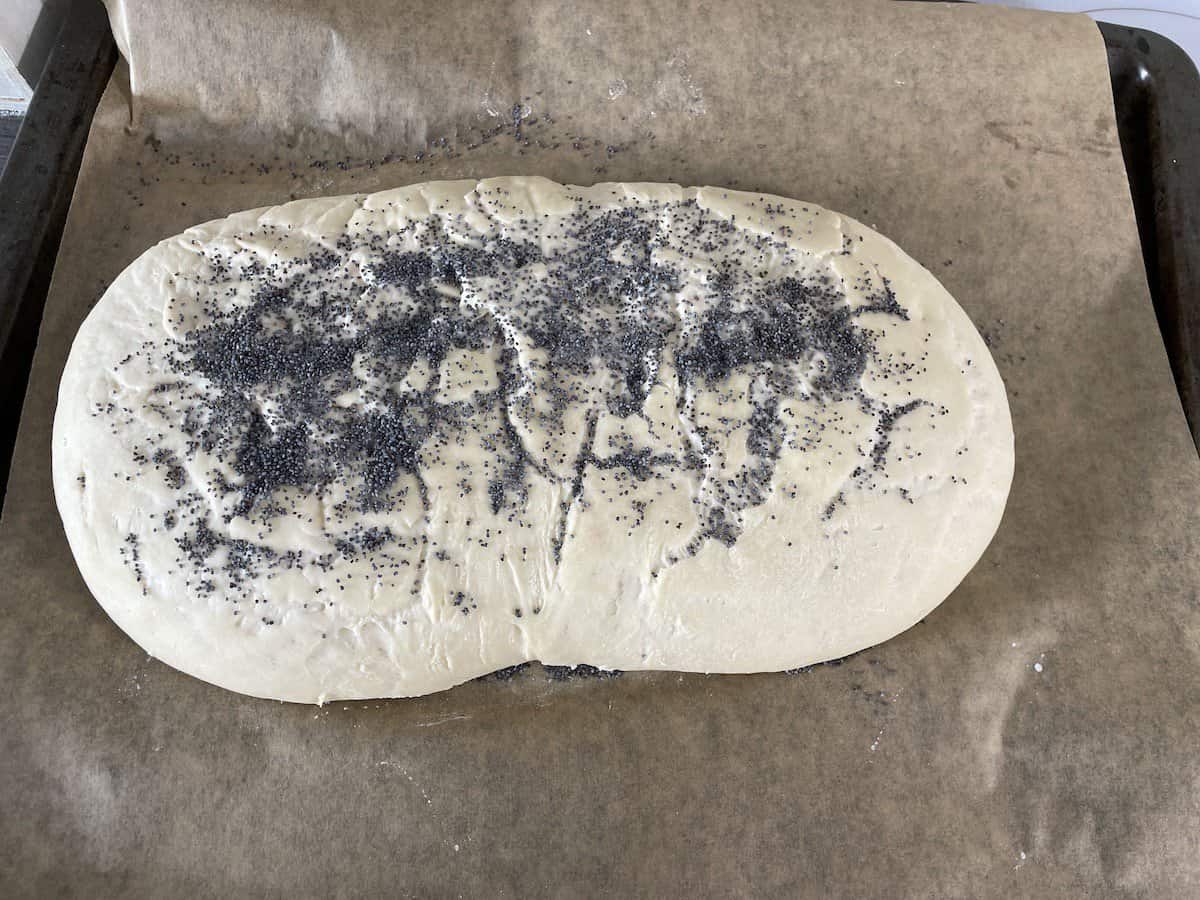
Part VI – Sprinkle With Toppings Of Your Choice
This part of the chleb pszenny recipe is optional. People use a lot of different types of toppings. Popular ones used are poppy seeds, sesame seeds or cumin seeds.
Part VII – Preheat the oven to 450°F (230°C)
Part VIII – Bake For 10 Minutes
Part IX – Reduce the temperature to 390°F (200°C) and bake for another 20 minutes
Simple Polish White Bread Recipe – Chleb Pszenny Frequently Asked Questions
Is Chleb Pszenny Vegan?
No. Generally, chleb pszenny is not vegan. If you are baking the bread at home, you can make the recipe vegan by substituting the milk with a plant-based milk and butter with olive oil or any other plant-based oil.
Why Is Yeast Important In The Recipe?
Yeast ferments the sugar in the dough and produces carbon dioxide. Carbon dioxide is a gas and it tries to escape from the dough which causes the dough to rise. This process is an integral part of the recipe and is the reason why the dough is kept for an hour or two. Generally, by this time, the yeast has done its work and the dough is double its size.
My Dough Has Not Doubled In Size. What Have I Done Wrong?
There are two reasons why the dough may have not risen. Both are related to the yeast you use.
Before starting your recipe, always check to see the expiry date of the yeast. Never use old yeast. This is because it is almost impossible to salvage the dough if the yeast is old and the dough doesn’t rise.
The other reason is temperature related. Yeast requires a nice warm temperature to work well. In cold climates, this may be difficult. If your dough has not risen, try keeping the dough in a place that is warmer. An ideal spot is next to a stove that is in use.
Simple Polish White Bread Recipe - Chleb Pszenny

Ingredients
- 5 cups (600g) of all-purpose flour or bread flour
- ½ cup of warm milk (or plant-based milk)
- 1 cup of warm water
- 1 tbsp of butter (or oil/olive oil)
- 2 tsps of salt
- 1 tsp of sugar
- 3 tsps of instant yeast
Instructions
- Knead all the ingredients for about 5-10 minutes. Do it in a bowl using your hands or in a food processor.
- Cover the bowl with a clean kitchen cloth and wait for 1-2 hours until it doubles its size.
- Form the bread on a flat floured surface. If you want to know exactly how to do it, watch my video.
- Place the bread on a baking tray lined with parchment paper.
- Wait for another 30 minutes for the bread to grow even more.
- Sprinkle the bread with the topping of your choice (poppyseed, sesame seeds, or cumin seeds). It's not necessary!
- Preheat the oven to 450°F (230°C).
- Bake for 10 minutes.
- Reduce the temperature to 390°F (200°C) and bake for another 20 minutes.
Recommended Products
As an Amazon Associate and member of other affiliate programs, I earn from qualifying purchases.


Nutrition Information:
Yield:
20Serving Size:
1Amount Per Serving: Calories: 149Total Fat: 1gSaturated Fat: 1gTrans Fat: 0gUnsaturated Fat: 0gCholesterol: 2mgSodium: 241mgCarbohydrates: 30gFiber: 1gSugar: 1gProtein: 5g
These data are indicative and calculated by Nutritionix


15 Responses
I was told when making bread you should put a pan of water under the bread to form more of a crust. Is this true?
Yes, you can put a pan of water into the oven when the bread is baking. That will form more of a crust :).
I recommend opening and closing the doors after 10 minutes of baking to release the excess steam.
I wondered if it is possible to use this recipe in a bread maker?
Probably yes but I haven’t tried it.
The amounts of milk and water in the recipe on line are incorrect. Both should be 1/4 cup more for each.
It is correct, why do you say otherwise? 🙂
because what you say in the video is different from the recipe.
It looks delicious! Does this recipe make 1 or more loaves of bread? Thank you!
Yes 🙂
Question on the liquids. In the video you say 3/4 warm milk and 1 cup warm water. The recipe has 1/2 cup warm milk and 3/4 cup warm water. I think it should be more liquid than less. Am I correct?
Hi Bruce!
Thanks for that question! The amount of water/milk depends on the type of flour you use but yes, more liquid than less. 1/2 cup of milk and 1 cup of water, add more milk if necessary.
Thanks Karolina, I am going to give this a try for Thanksgiving.
Good luck and happy Thanksgiving! 🙂
It turned out wonderful. The poppy seeds did not stick very well, but everyone loved the bread. There were no leftovers. Going to try sesame seeds on the next loaf.
I made this recipe and used two small Pyrex bread pans. I made 2 small loaves instead of one large one. I followed the recipe with a few exceptions: I added a tablespoon of minced (dehydrated) onions to the flour, yeast, etc. I also coated the top and sides of the loaves with egg and a teaspoon of milk. And I sprinkled more minced onions on the top of the loaves. The bread was delicious.