
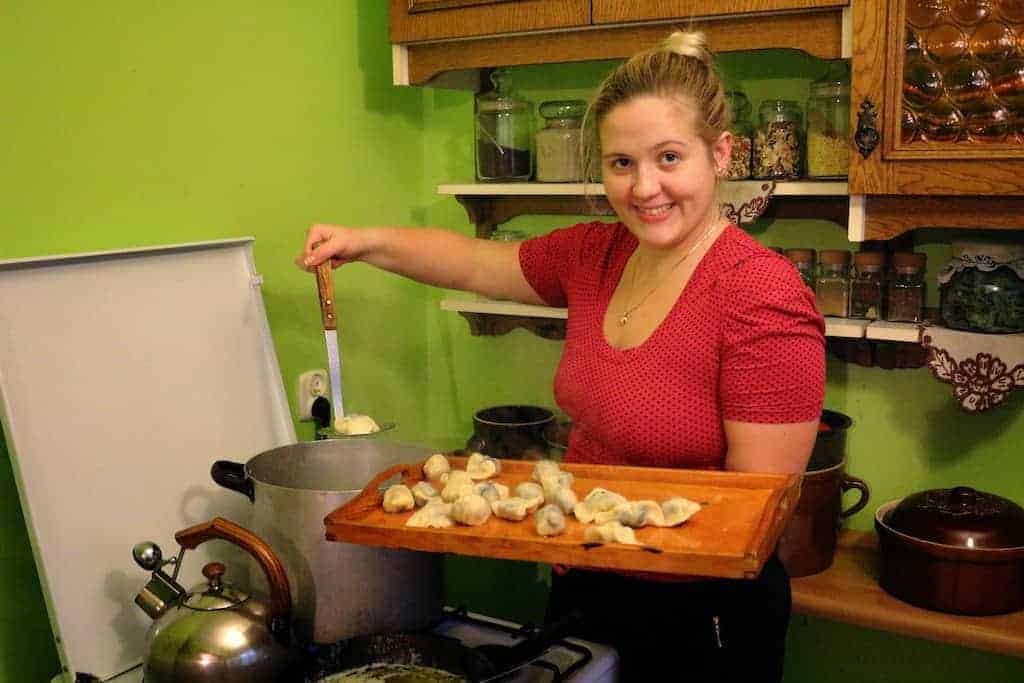
Babcia Marysia, my grandma makes the best pierogi in the world. I’ve been eating them since I was a little kid. What’s the secret to her pierogi ruskie recipe?
The most important factor is definitely making them with love. The other is adding a lot of butter. Thanks to that, they are juicy and springy.
If you don’t know where to buy farmer’s cheese, see my homemade farmer’s cheese recipe (it’s really easy to make!).
Here’s a video recipe for pierogi ruskie.
Why Pierogi Ruskie Are So Popular In Poland?

The answer is quite simple: it’s one of the cheapest Polish food that you can make. Back in the Middle Ages meat was really expensive and only the richest ones could afford it.
The traditional Polish diet was based on flour, dairy, veggies, and potatoes. That’s what pierogi ruskie are made of.
Making pierogi is time-consuming, you will need at least a few hours to prepare everything. It’s definitely worthwhile though.
What Can Go Wrong?
Here are the most common mistakes when making pierogi:
1. Put them into the cold water.
As I said before, my babcia is pierogi queen. When she was younger, she was making them every few days.
A few months after she gave birth to my mom, she got pregnant again. My grandpa was working all the time and she was taking care of the house.
She knew she had to get everything ready for the time she would be in the hospital, giving birth to my uncle. Of course, when it comes to food, she made tons of pierogi.
She didn’t tell my grandpa how to cook them, as she thought it was quite obvious. Sadly, she was wrong.
He thought that all it takes is to throw pierogi into the water and boil them. WRONG.
When you do that, you will get pierogi soup, everything will fall apart.
The only way to cook pierogi is to throw them into boiling water.
2. Putting them too close together.
After pierogi are cooked and ready, you can either:
- Put the butter on top of them and eat them
- Place the pierogi separately on the plate/ cutting board and let them cool down.
Make sure they don’t touch each other as they might stick together. Once the pierogi cooled down, place them into a bowl, pour melted butter over them, and shake gently so the butter spreads evenly. Pierogi can be stored in a fridge for a couple of days. You can also freeze some for later in the freezer.
3. Overboiling and overcrowding.
It is crucial to cook pierogi in the very right amount of time. If left too long, they might fall apart.
Drop a few pierogi into boiling salted water carefully, and stir them gently just to make sure they are not stuck to the bottom of the pot. Allow the water to come back to boiling and leave the pierogi to boil for a moment lowering the heat.
After a brief time, pierogi will come to the surface of the water, give it 2-3 minutes, and gently take them out. Remember not to crowd pierogi as you move them onto the plate.
4. Pierogi will go dry if kept uncooked for too long.
Dry dough on your pierogi is something you do not want; it might crack and break during cooking. It can happen while you are preparing a big batch of pierogi, like a hundred or more. To be time efficient try first to make all of them, and then once you have them ready move on to the cooking part.
To prevent pierogi from getting dry, when they wait to be cooked, you can simply dust them with a bit of flour and cover the whole batch with a kitchen cloth.
How To Freeze Pierogi Ruskie?
Freezing pierogi is easy, however, there are a few important things you need to remember.
Freezing Cooked Pierogi
The most important rule when preparing cooked pierogi for storing is to lay them separately until they cool off.
When the steam is no longer coming out of them, pierogi are ready to be greased with melted butter. Butter not only adds a delicious flavor to the dish but also helps with storing it for a longer period. Now, when covered with grease, pierogi can be stored in a bowl without risking having them stacked together. However, if the space in your fridge allows, leave them on the tray.
When finally, the pierogi are cold, transfer the whole tray to the freezer. Allow it to stay in the freezer for 3-4 hours. Once you see they are hard and frozen, transfer them to a food container suitable for freezers.
Freezing Uncooked Pierogi
Pierogi can be successfully frozen even without having them boiled beforehand. Place freshly made pierogi onto a tray or cutting board, dust with flour, and transfer the whole batch straight to the freezer. When frozen, transfer pierogi to a food container suitable for freezers.
Best Polish Side Dishes and Add-ons For Pierogi Ruskie

1. Milk
Pierogi ruskie with warm milk to drink is what my childhood tasted like.
2. Maggi seasoning sauce
Some people pour the maggi seasoning sauce on top of pierogi ruskie to get more salty and strong taste.
3. Skwarki (greaves food)
It’s probably the most famous topping for pierogi ruskie. Skwarki are made of melted smalec (fat bacon or lard).
4. Fried onion
If you are not a big fan of meat, you can always fry some chopped onion with butter and the pour it over the dumplings.
5. Sour cream
In some parts of Poland, pierogi ruskie are only served with sour cream. It makes the entire dish quite heavy, however, the taste is awesome.
6. Fresh salads
Pierogi ruskie taste surprisingly well with fresh salads.
How To Serve Pierogi Ruskie?
You can either have them fresh or fried. Some people prefer more the second version of pierogi, as the dough is crispy and delicious!
How to fry pierogi? Melt the butter on the pan and fry the pierogi until they get brownish on each side. It’s as simple as that.
See also my krokiety ruskie recipe.
Why Pierogi Ruskie Are Called „ruskie”?
The name should not be associated, as it is often done, with Russia, where this type of dumpling is not known. The name comes from Red Ruthenia, a historical part of Ukraine. In Ukraine, this type of dumpling is named pierogi polskie (Polish pierogi).
Today, to show solidarity with Ukrainian in times of war in their home country, the name pierogi ruskie is often changed to a pierogi ukraińskie (Ukrainian pierogi) or pierogi galicyjskie (Galician pierogi).
Is There Any Faster Way To Make Pierogi Ruskie?
Yes! If you don’t have time to mold pierogi, you can either make krokiety ruskie (with crepes) or pierogi lasagna, with pasta. They both taste delicious!
My Grandma’s Pierogi Ruskie Recipe
My Grandma's Pierogi Ruskie Recipe

My grandma's recipe for pierogi ruskie (vegetarian)
Ingredients
Dough for pierogi ruskie
- 5 cups (600g) of all-purpose flour
- 1 egg
- 1 cup of warm water
- 2 pinches of salt
- 4-5 tablespoons of oil
Filling for pierogi ruskie
- 21oz (600g) of cottage cheese
- 1 ⅓ lb of potatoes
- 1 block of butter (125g)
- 1 small onion
- 3 pinches of salt
- 1 pinch of ground black pepper
Instructions
How To Make Pierogi Ruskie Dough?
- Put flour, egg, oil, and salt into the bowl. Whisk it together with hand or dough hook attachment.
- Start adding the water slowly, letting it incorporate before adding more.
- Whisk until all the ingredients are incorporated and there are no lumps.
How To Make Pierogi Ruskie Filling
- Peel the potatoes and put them into the pot.
- Add the cold water, two pinches of salt and boil until they are soft (about 30 minutes)
- Peel and chop an onion. Gently fry it with the entire block of butter (the onion should remain white, don't caramelize it)
- When potaoes are soft, pour out the water and add the fried onion with butter to the pot.
- Add the cottage cheese, salt, pepper, and mix all together with the potato masher.
How To Mold Pierogi Ruskie
- Divide the dough into the 2 or 3 pieces.
- Thinly roll each piece out onto a floured surface to just under 1/16 - 1/8” thickness.
- Use round cookie cutter to cut the circles from the dough.
- Put the filling (1/2-3 teaspoons) in the centre of each circle. The more filling the better, however, you need to be sure it stays inside pierogi.When the filling will get between the dough when sealing, pierogi may fall apart during the cooking.
- Pull the edges of each circle together to form pierogi. Make sure the seal is continuous and intact. You can't leave any free space, as pierogi will fall apart during the cooking. Pinch tightly.
- Collect the remaining dough scraps and put them to the other 2 dough pieces. Repeat the process until the entire filling and dough are used.
How To Cook Pierogi Ruskie?
- Pour the water into the big pot. Add 2 pinches of salt. Boil.
- Gently throw pierogi, one by one into the boiling water.
- When they start floating, wait for a minute and take them out with the slotted spoon.
- Pour the melted butter on top.
Recommended Products
As an Amazon Associate and member of other affiliate programs, I earn from qualifying purchases.
-

 Pierogi Maker Molds
 -
 Wood Rolling Pin - Wałek
 -
 Wooden Pastry Board - Stolnica drewniana
 -
 Stainless Pot - Garnek duży
 -
 Pierogi Molder
 -
 Butter Unsalted - Masło
 -
 Eggs Organic Cage-Free
 -
 Rapeseed Oil - Olej Rzepakowy
 -
 Yellow Conventional - Cebula
 -
 Farmer Cheese - Ser Biały
 -
 Potato Masher
 -
 All Purpose Flour
 -
 Potato Yellow Organic
Nutrition Information:
Yield:
6Serving Size:
1Amount Per Serving: Calories: 356Total Fat: 12gSaturated Fat: 2gTrans Fat: 0gUnsaturated Fat: 9gCholesterol: 29mgSodium: 163mgCarbohydrates: 53gFiber: 3gSugar: 2gProtein: 9g
These data are indicative and calculated by Nutritionix
See also my other recipes for pierogi!


18 Responses
CAN I INDIVIDUALLY FREEZE THEM FOR CHRISTMAS AND THEN HOW DO i COOK THEM…DEFEOSTED OR NOT? THANKS
I boil them and let them cool off by placing them separately on the tray. When they are cold, I cover them with melted butter and freeze them in a plastic bag.
Approximately how many pierogi will this recipe make?
About 50-60 pierogi.
I save all your pierogi recipes. When my wifew Judi makes and serves them all our guests want the recipe.
I am so happy to read that! 🙂
Hi, I haven’t tried your recipes yet. But they look wonderful! I love cooking. I can’t wait to try them.
Both of my father’s parents were immigrants from Poland. I never met Grandma and Grandpa died when I was very young. Even though I no memories of them, what I do remember was Mom making stuffed cabbage. I have tried so hard. I never have been completely successful.
Mom would also serve Polish sausage and pierogis, store bought. That’s were my love for them started. Had to start somewhere! Now this I did learn to excel at and I love it!
When I started looking through your website, I called my oldest. “I found our family’s website. It even has vegan stuff cabbage and keto,”
Thank you
Wow, Carol, I am so happy to read that 🙂
Thanks for your comment!
Can you please specify what kind of cottage cheese you use in this recipe? I see the Amazon link but it just says ‘soft cheese’ so I can’t tell. Is it dry? wet? In big chunks?
Any will work! You mash it with potatoes anyway. In Poland, we usually use farmer’s cheese or curd cheese for pierogi ruskie filling. You can make it with any other white cheese, tofu, or even without the cheese, just potatoes.
Use farmer’s cheese. In America, it’s normally sold in a block. If you can find it, buy a block. Note how much it weighs and cut off a piece that looks to be the approximate size for the amount of cheese you’ll need. For example, the pierogi recipe I’ve been using calls for 4 ounces of farmer’s cheese. So if I buy a one-pound block of cheese, I’ll cut off one fourth of the block for each batch of pierogi I make. Anyway, once you cut off a chunk of cheese, shred it with a cheese grater and then set it aside until you’ve made the mashed potatoes.
It can be hard to find farmer’s cheese in American grocery stores. Where I live (Columbia, Missouri), Sam’s Club is the only place that sells it. This made me wonder what to use as a substitute in case my local Sam’s Club closes or stops selling it. I went online and saw that most people recommended ricotta cheese or goat cheese. I haven’t tried making pierogi with ricotta cheese yet but I’ve made pierogi with farmer’s cheese and then made them with goat cheese a few weeks later and I couldn’t tell the difference. Unlike farmer’s cheese, goat cheese is easy to find. All of the grocery stores here sell at least two different brands and most brands sell a few different kinds. Some is plain. This is the kind I always use to make pierogi. But they also have some that is flavored with honey, some that is flavored with garlic and herbs and some that is flavored with fruit. I always get goat cheese at ALDI because they have the best price. They also sell it in 4 oz packages which is exactly the amount I need for a batch of pierogi. As far as I’m concerned, goat cheese is just as good for making pierogi as farmer’s cheese.
My polish mil taught me how to make pierogi and one of my favourite fillings is mashed potato and sauerkraut the potato tones down the sauerkraut and the sauerkraut livens up potato I have never seen this combination for sale anywhere and now I’m alone I never make my own anymore
It’s a twist to the Polish recipe- I’ve never had pierogi like that!
potato and saurkraut are great grew up that way from polish parents
Hiya! Just visited Poland and now want to try my hand 🙂
1 thing – You might want to edit the recipe as it says Yield = 8 and 1 Serving but I see in comments it makes more like 60 dumplings which would equate to 6 ish servings!
Also, do you have advance for toasting them up in a frying pan afterwards? I really liked that 🙂
Thanks, I’ve just corrected that 🙂
You can fry pierogi just after cooking! You always need to cook pierogi first.
I am celiac and have made a GF pierogi recipe that includes sour cream in the dough as well as milk. Is using sour cream and milk in the dough traditional in some parts of Poland?
Yes, some people do it!